How to Create a CHM File with a Help Authoring Tool
If you need to create a CHM help file, you can use the steps described on this page. In addition, below you will find a short video that demonstrates the process of creating an HTML Help (CHM) file with a help authoring tool.
Video Tutorial on Creating a CHM Help File
In this video you can see how you can use a help authoring tool to create an HTML Help (CHM) system.
1.) Download a CHM Help Tool
First of all, you need a help authoring tool that supports CHM as an output help format. You can download one of such help tools allowing you to create CHM files by clicking the button below.
How to Install:
Run the downloaded setup executable file and follow the instructions. The setup program provides a smooth installation process that will only take a minute or two.
Download details and terms of use:
For more details on the software download and terms of use, click here.
2.) Install MS HTML Help Workshop
To create CHM files, you should also download and install Microsoft HTML Help Workshop since it includes a CHM file compiler (HHC.exe) that should be linked with your help authoring tool.
To link the CHM compiler with the help tool described in this article:
- On the File tab, click Options.
- In the dialog box, in the left sidebar, select General->Compilers.
- Specify the full path to the HHC.EXE file. This file is located in the destination directory where you installed MS HTML Help Workshop.
- Click OK to save the modified options.
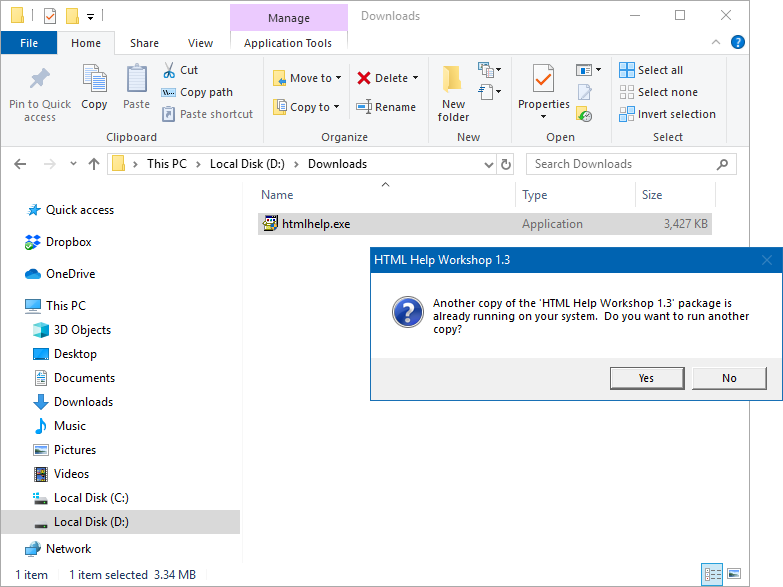
Installing HTML Help Workshop
Creating Table of Contents
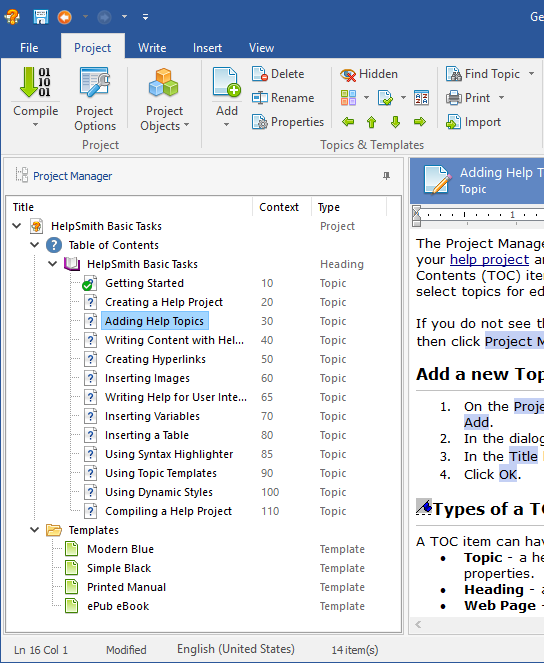
3.) Create the Table of Contents
You can create the Table of Contents structure of your CHM file by adding heading items and help topics that can contain other headings and topics as sub-items.
To add a new help topic or heading item to the TOC of your CHM file:
- On the Project tab, in the Topics & Templates group, click Add.
- In the dialog box, in the left sidebar, select the item type.
- Enter item title and other parameters.
- Click OK.
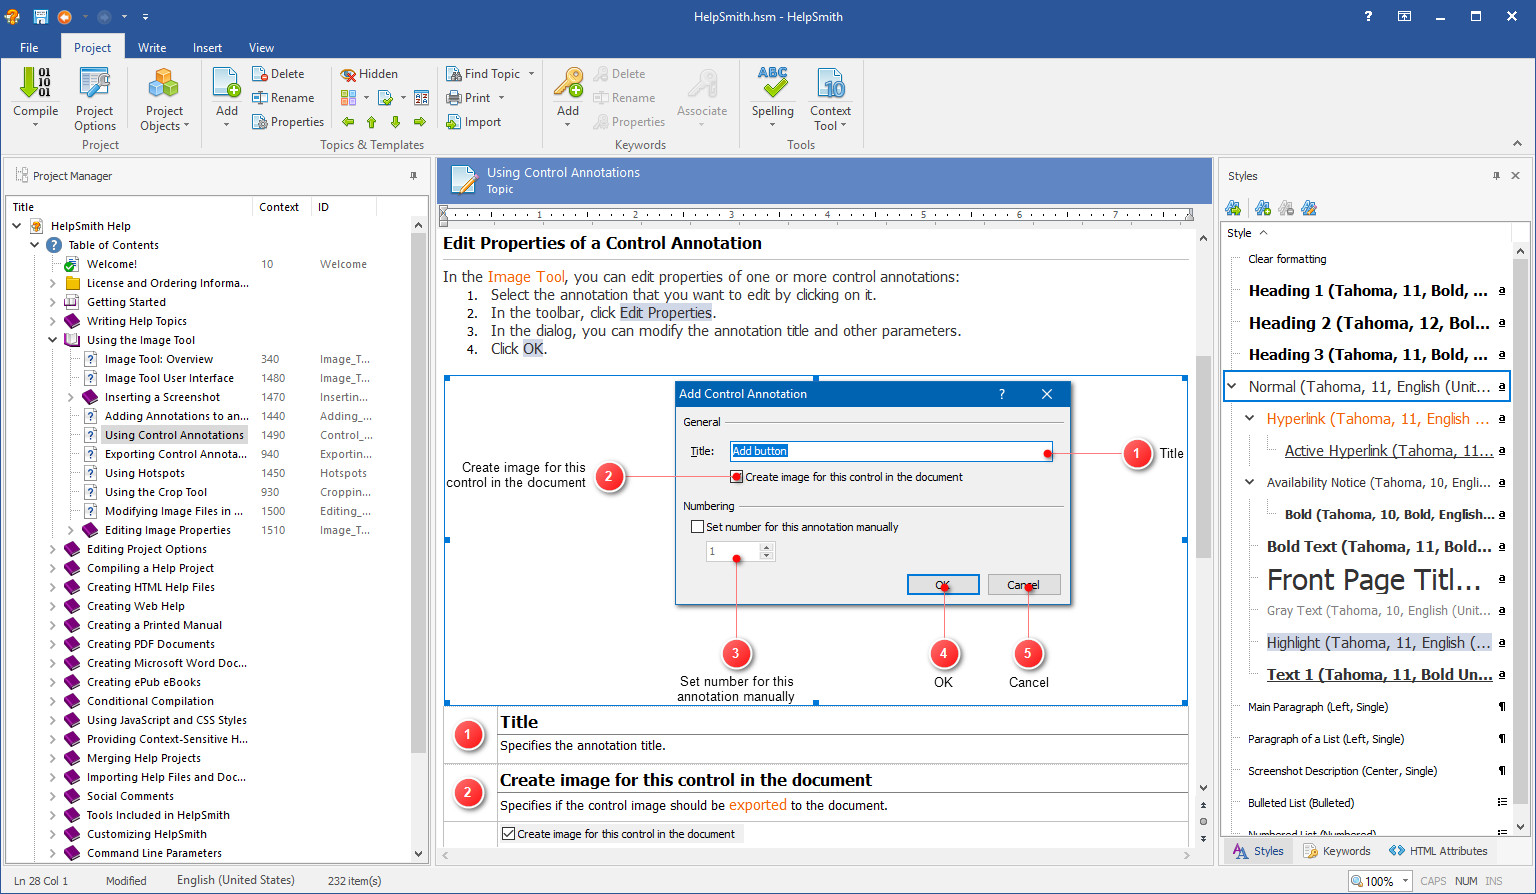
4.) Write Content and Insert Hyperlinks
Any modern help authoring tool includes a full-featured word processor. Thus, you can select a help topic that you want to edit and write content for it directly in the help tool. Also you can insert images, hyperlinks, tables, variables, and any other objects into the topics of your CHM help file.
Inserting hyperlinks allows you to link to other help topics within the same CHM file, or to link to external web pages or documents.
To insert a hyperlink linking to another help topic within the same HTML Help (CHM) file:
- Select the topic into which you want to insert a new hyperlink.
- On the Insert tab, in the Links group, click Hyperlink.
- Enter text of the new hyperlink and, in the Topic Context box, select a topic to which you want to link.
- Click OK.
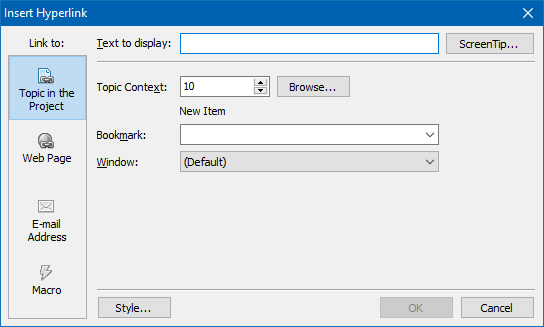
Inserting a Hyperlink
Creating Help File Index
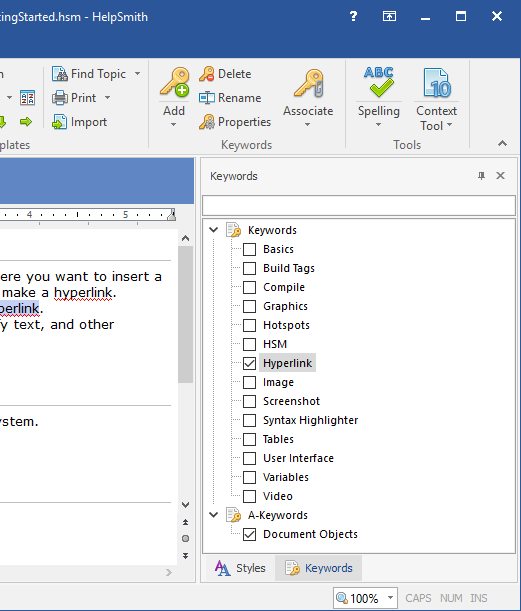
5.) Create Alphabetical Index
The Index tab in the HTML Help (CHM) file viewer allows the user of the help file to quickly find a topic or several topics associated with a keyword since all keywords are alphabetically sorted in the list. In the process of creation a CHM help file, you can add, delete and associate topics with keywords.
To add a new keyword:
- On the View tab, click Keywords to show the Keyword tool.
- Select the topic that you want to associate with the new keyword. You will be able to change the topic associations later.
- On the Project tab, in the Keywords group, click Add.
- In the Keywords pane, enter a name of the new keyword.
- Press Enter.
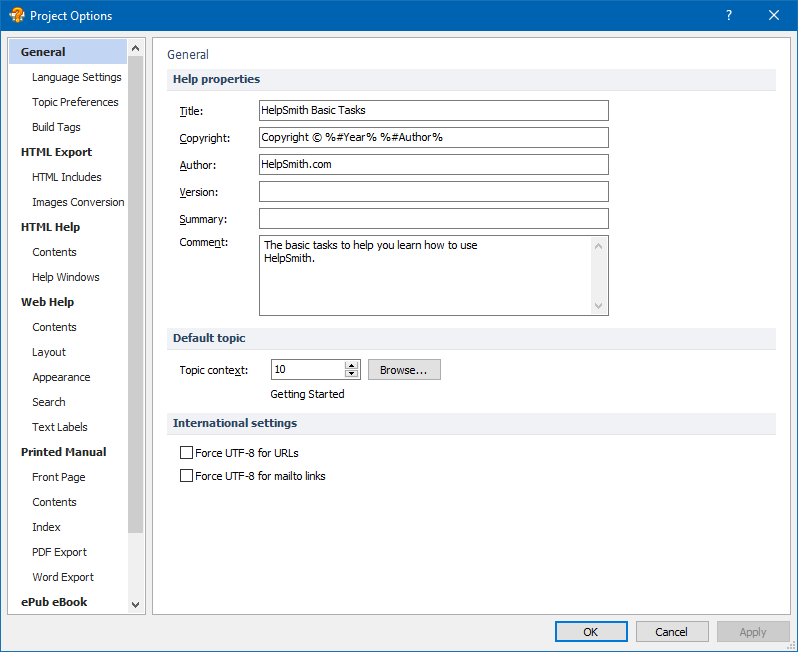
6.) Edit CHM Help File Settings
Editing CHM-related options allows you to define a title of your help file, copyright information, Language settings and other specific settings such the behavior of Table of Contents in the HTML Help viewer, and also parameters of help windows used by the HTML Help viewer.
To modify settings of your HTML Help (CHM) file:
- On the Project tab, in the Project group, click Project Options.
- In the dialog box, under General, you can setup options such as the Title, Copyright, Author, Version, and other parameters.
- Also, under the HTML Help section, you can setup CHM-related options such as Language, Font, Output Directory, Table of Contents-style and behavior settings, and Help Windows parameters.
CHM Help File Settings
Compiling a CHM File
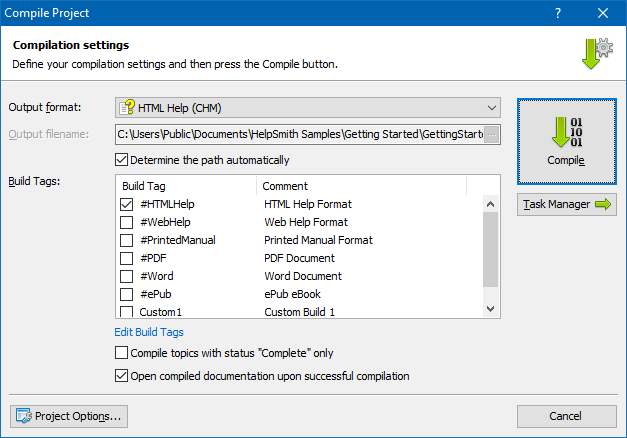
7.) Compile Your CHM Help File
Now you can compile your help project and create your CHM file. To do so, on the Project tab, click Compile, select HTML Help as the output format, and then click OK.
Output directory:
After the compilation process is complete, the help tool will create your CHM file in the same directory as your source project file. If you have never saved your help project, the CHM will be created in the Windows "My Documents" directory.
Distribution of a CHM file
The CHM file you have created stores the entire help system and in most cases it is the only file that you need to send the help system to other people directly, or to distribute it with your application.
CHM File is Not Properly Displayed
Sometimes when you create or download a CHM help file, it can be blocked by Windows security policy. In this case the HTML Help viewer displays the Table of Content, but not the content of help topics. You can visit this link to learn why that happens and what to do if you have faced such an issue.
Download a CHM Creation Tool
After watching the video which explains how you can create a CHM file with a help authoring tool, you may want to download the application whose basic features we have demonstrated. If you need more information on creating and using HTML Help (CHM) files, you can also visit the related links in the right box.
| Details | Value |
|---|---|
| Filename | HelpSmithSetup.exe |
| File size | 60 MB |
| Platform | Windows 11/10/8/7 |
| System requirements |
1 GHz processor, 512MB RAM, 150MB free disk space |